How to clean grout in floor tiles is a common problem for homeowners. Grout lines can trap dirt, mold, and stains. Luckily, many methods can be done at home without harsh scrubbing. This guide will show you how to use everyday items like vinegar and baking soda, as well as professional techniques.
Grout between tiles can darken from moisture, foot traffic, and spills. If ignored, it can damage flooring and harm indoor air quality. Cleaning it properly can extend the life of your tiles and improve your home’s look and choosing the right approach is key to keeping grout clean for a long time.
Understanding Why Grout Gets Dirty
Grout gets dirty because of its structure and how it’s exposed to the environment. Knowing about porous grout problems shows why we need to take care of it early.
The Porous Nature of Grout
Grout is very absorbent because of its makeup. It has tiny pores that hold moisture, oils, and dirt. This leads to tough stains and the growth of harmful bacteria. Common porous grout problems include:
- Moisture retention fostering mold and mildew
- Bacteria buildup from trapped food particles
- Color fading from chemical exposure
Common Causes of Grout Discoloration
Discoloration often points to specific problems. Key grout discoloration causes include:
| Cause |
Visual Effect |
Frequency in Homes |
| Mold/mildew growth |
Black or green spots |
High in bathrooms |
| Hard water minerals |
Gray or yellow haze |
Common in regions with calcium-rich water |
| Food/beverage spills |
Brown or red stains |
Regular in kitchens |
Grout Cleaning Tips
Why Grout Needs Special Care:
Grout is absorbs dirt, spills, and moisture, making it prone to stains, mold, and discoloration.
Basic Supplies for Grout Cleaning
- Baking soda
- Vinegar (for ceramic/porcelain tiles only)
- Hydrogen peroxide
- Old toothbrush or grout brush
- Spray bottle
- Microfiber cloths
- Grout sealer
Regular Grout Cleaning Routine
- Spray grout lines weekly with a water and dish soap solution.
- Gently scrub with a grout brush or old toothbrush.
- Wipe clean with a damp microfiber cloth.
Deep Grout Cleaning Method
- Make a Paste: Mix baking soda and water until thick.
- Apply to Grout: Spread the paste along grout lines.
- Spray Vinegar (Optional): Lightly mist vinegar over the baking soda (skip vinegar for natural stone tiles).
- Let it Sit: Allow fizzing for 5 minutes.
- Scrub: Use a toothbrush or grout brush to scrub stains.
- Rinse and Dry: Wipe with a damp cloth and dry thoroughly.
Natural Grout Cleaners
- Hydrogen Peroxide + Baking Soda: Whiten and disinfect.
- Steam Cleaner: Deep clean grout without chemicals.
Important Grout Care Reminders
- Avoid strong acidic cleaners on natural stone.
- Seal your grout every 6–12 months to prevent stains and moisture absorption.
- Clean spills quickly to prevent deep staining.
Homemade Grout Cleaning Solutions
Looking for natural grout cleaners? Homemade recipes are a great, affordable choice. They use common ingredients to clean without harming surfaces. Here are three effective formulas to try:
Vinegar and Baking Soda Method
Start by mixing ½ cup white vinegar with 1 tablespoon baking soda. The mixture fizzes, breaking down dirt and stains. Apply it to the grout, wait 5 minutes, scrub, and then rinse well.
Note: Don’t use this on marble, granite, or unsealed stone because vinegar is acidic.
Hydrogen Peroxide Mixture
For a whitening solution, mix ½ cup 3% hydrogen peroxide with 2 tablespoons baking soda. It forms a paste. Apply it to light grout, wait 15 minutes, scrub, and rinse. This method is good for removing mold and soap scum in bathrooms.
Lemon Juice and Cream of Tartar Paste
Make a paste by blending 2 tablespoons lemon juice with 3 tablespoons cream of tartar. Apply it to stains, wait 10 minutes, scrub with a toothbrush, and rinse. Lemon brightens the grout, while cream of tartar helps scrub. Store any leftover paste in an airtight jar for up to 2 weeks.
Commercial Grout Cleaning Products
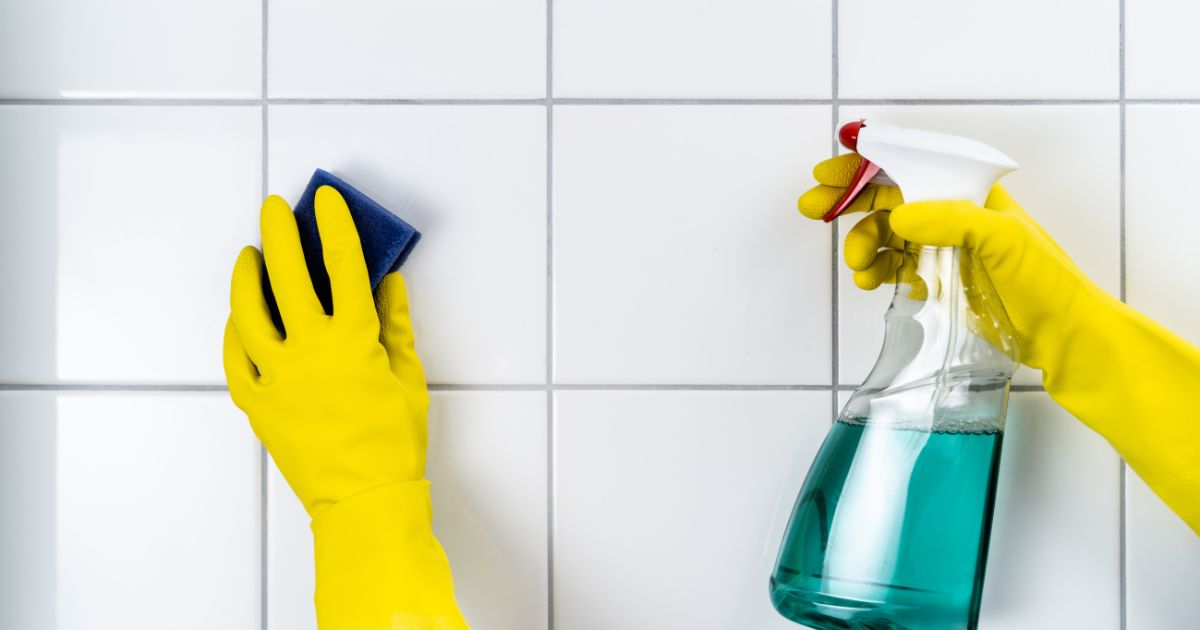
When homemade solutions don’t work, best grout cleaners are the answer. These professional grout cleaning products are made to remove tough stains safely. They come in different types, like oxygen bleach, alkaline, acid-based, or specialty formulas.
- Oxygen bleach cleaners: Options like gentler alternatives to traditional chlorine bleach that utilize oxygen to remove stains.
- Alkaline cleaners: Alkaline cleaners are eco-friendly and effective in removing solid contaminants like grease, oils, and fats, making them suitable for various cleaning applications.
- Acid-based solutions: Acid-based solutions are cleaning products designed to dissolve inorganic deposits like rust, hard water stains, and scale using acidic compounds.
When picking chemical grout cleaners, think about the grout color and stain type. Acid-based cleaners might damage grout, so test them first. Always wear gloves and work in a well-ventilated area to avoid breathing in fumes. If you’re not sure about the grout, choose pH-neutral products.
Always check the manufacturer’s instructions to make sure they’re right for your tile (like ceramic or porcelain).
Step-by-Step Grout Cleaning Techniques
Effective grout cleaning needs the right tools and motions. Start with basic methods and then use specialized tools.
Manual Scrubbing Methods
Begin with a soft-bristle brush, like a plastic toothbrush, for small spots. Use circular motions with gentle pressure. Focus on the grout lines.
For tough stains, soak the area with cleaner first. Clean in 2×2-foot sections to keep your work even.
Using Grout Brushes Effectively
Choose the right brush for the stain. Here’s a comparison of common brushes:
| Type |
Best For |
Usage Tips |
| Plastic bristle brush |
Light stains, daily maintenance |
Rinse bristles often to avoid clogs |
| Brass wire brush |
Heavy grime, tile gaps |
Use at a 45-degree angle to avoid tile scratches |
| Electric oscillating brush |
Stubborn stains, large areas |
Follow the maker’s speed advice |
Electric Cleaning Tools for Stubborn Stains
Electric tools are great for tough stains. An oscillating brush with a drill gets deep. Steam cleaners, like Bona’s Steam Mop, soften stains. Pressure washers are good for outdoor tiles.
Always test these tools on a small area first.
- Steam cleaners: 150°F for mold/mildew
- Electric brushes: 1,200 RPM settings for grout lines
- Pressure washers: 2,000 PSI max for indoor use
Wipe away any leftover cleaner right away. This stops dirt from sticking back.
How to Clean Grout in Tile Floors with Baking Soda
Over time, grout in tile floors can collect dirt, stains, and grime, making your floors look dull and dirty. Using baking soda is a natural, effective, and budget-friendly way to restore grout to its original color without harsh chemicals. Follow these simple steps to clean your grout using baking soda:
Materials Needed:
✔ Baking soda
✔ White vinegar (optional for extra cleaning power)
✔ Warm water
✔ A toothbrush or grout brush
✔ A spray bottle
✔ A damp cloth or mop
Step-by-Step Cleaning Process:
- Make a Baking Soda Paste
- Mix 3 parts baking soda with 1 part water to create a thick paste.
- For tougher stains, substitute water with white vinegar for extra cleaning power.
- Apply the Paste to the Grout
- Spread the paste along the grout lines using a brush or your fingers.
- Let it sit for 10–15 minutes to break down dirt and stains.
- Scrub the Grout
- Use a toothbrush or grout brush to scrub in circular motions.
- Focus on heavily stained areas for best results.
- Rinse with Warm Water
- Wipe the area with a damp cloth or mop to remove baking soda residue.
- For a deeper clean, spray a little vinegar on the grout before wiping.
- Dry and Inspect
- Let the grout dry completely. If stains remain, repeat the process.
Sealing Grout After Cleaning
Apply a sealer after cleaning grout to protect it. This step creates a barrier that keeps moisture and dirt out. Grout sealer application helps your grout last longer and saves you from future cleaning.
- Sealer Types: You can pick from penetrating, membrane, or enhancing sealers. Each type does something different.
- Application Steps: First, make sure the grout is dry. Then, test it to see if there’s already a sealer. Use a sponge or brush to apply the sealer evenly. Be careful not to get it on the tiles.
- Curing Times: Always follow the instructions on the sealer. Most need 24 hours to dry before you can use the area again.
Check if the grout is dry by touching it. If it feels dry, it’s ready. In places like kitchens, you might need to reapply the sealer every 1–3 years. This keeps your grout looking good and stops mold in wet areas like showers. Always apply the sealer in a well-ventilated area and wear gloves.
Maintaining Clean Grout Between Deep Cleanings
Keeping up with a grout maintenance routine helps extend the time between deep cleans. Small daily or weekly efforts can prevent stains and wear. Here’s how to keep grout looking fresh between thorough cleanings.
Weekly Maintenance Tips
Make these steps part of your regular cleaning routine:
- Wipe floors daily with a microfiber mop or dry cloth to trap loose dirt.
- Use pH-neutral cleaners like Resolve Daily Cleaners to avoid damaging sealants.
- Scrub grout lines weekly with a soft brush and mild detergent solution.
Preventative Measures for High-Traffic Areas
Focus on areas like kitchens and entryways:
- Place washable area rugs at doorways to trap grit and moisture.
- Enforce a “no-shoes indoors” rule to reduce soil tracked onto grout.
- Apply a grout-safe sealer every 12–18 months for added protection.
Quick Spot-Cleaning Methods
Act fast to prevent grout stains:
- Blot liquid spills immediately with a white cloth.
- Use a 50/50 water and white vinegar spray for minor stains.
- Let baking soda paste sit on grease spots for 10 minutes before scrubbing.
Adopting a daily grout care mindset reduces long-term damage. Regular care keeps grout looking fresh with minimal effort. It also saves money by avoiding expensive professional cleanings.
| Issue |
Preventative Action |
Quick Fix |
| Food spills |
Keep spill kits near high-traffic zones |
Hydrogen peroxide soak for 5 minutes |
| Foot traffic |
Rotate area rugs quarterly |
Steam mop weekly with distilled water |
| Mold growth |
Ensure proper ventilation |
Bleach solution (1 part bleach:10 water) for bathroom tiles |
Tile Cleaning Tips
Tiles are non-porous and usually resist staining, but dirt and soap scum can still dull their shine.
Basic Supplies for Tile Cleaning
- pH-neutral tile cleaner
- Warm water
- Microfiber mop or cloth
- Soft sponge
- Bucket
Regular Tile Cleaning Routine
- Sweep or vacuum floors to remove dust and dirt.
- Mop with warm water and a few drops of pH-neutral cleaner.
- Dry tiles with a microfiber cloth to avoid water spots.
Deep Tile Cleaning Method
- Mix Solution: Combine warm water with a few drops of tile cleaner.
- Scrub: Use a sponge or soft mop to tackle stubborn spots.
- Rinse Thoroughly: Avoid leaving any cleaner residue behind.
- Dry Completely: Prevents streaks and slippery surfaces.
Natural Tile Cleaning Options
- Mild Soap and Water: Safe for daily use.
- Vinegar Solution: Only for ceramic/porcelain (not for natural stone tiles like marble or travertine).
Important Tile Care Reminders
- No metal brushes—they will scratch the surface.
- Skip harsh chemicals—they can damage tile finishes.
- Place mats at entryways to trap dirt and protect tile surfaces.
Bonus: Common Issues and Quick Fixes
| Problem |
Solution |
| Mildew on Grout |
Hydrogen peroxide and baking soda scrub |
| Dull Tile Surface |
Clean with pH-neutral cleaner and buff dry |
| Stained Grout |
Deep clean with baking soda paste and reseal |
| Loose Tiles |
Regrout or re-adhere as soon as possible |
Knowing When to Call a Professional
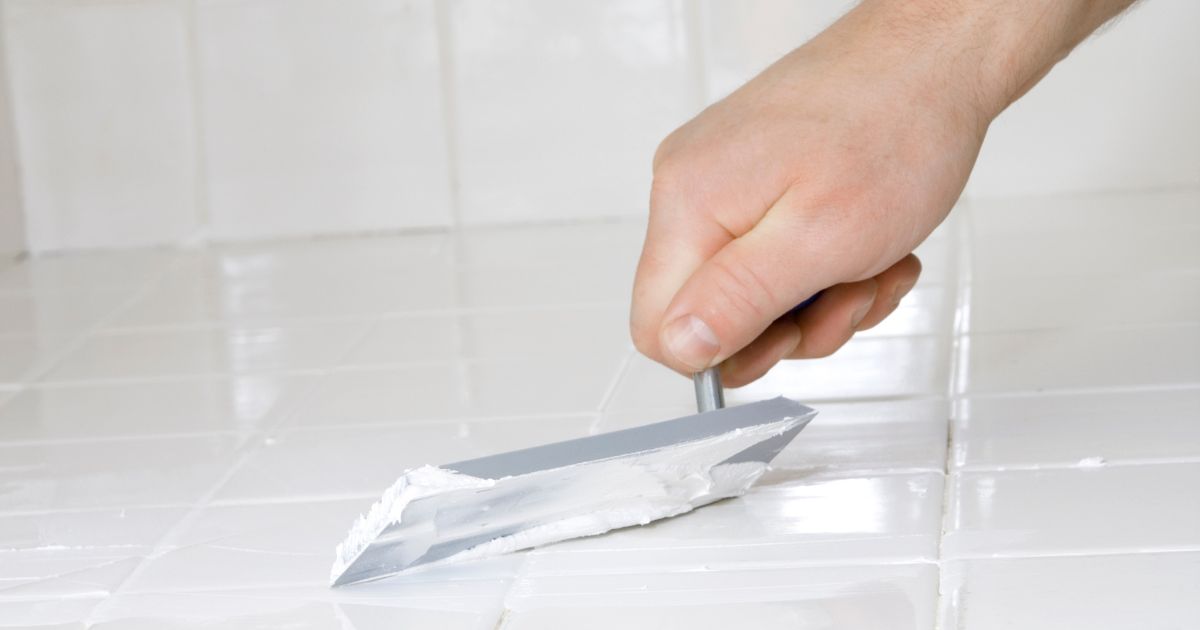
At some point, stubborn grout issues may need professional grout cleaning services. Knowing when to hire grout cleaners helps your floors look great again without damage. Here’s how to know it’s time to get help:
- Deeply embedded stains from rust, mold, or heavy traffic
- Cracked or crumbling grout needing replacement
- Visible mildew growth in dark, damp areas
- Tile surfaces too delicate for DIY scrubbing
| DIY Limitations |
Professional Solutions |
| Limited tools for tough stains |
Truck-mounted steam cleaners and industrial-grade solutions |
| Time-consuming process |
Efficient removal of years of buildup |
| Risk of surface damage |
Trained technicians using safe techniques |
Look for a service with experience in expert grout restoration. Check for certifications, references, and warranties. Expect detailed quotes that include labor, materials, and aftercare advice. Professionals use pH-neutral cleaners and protective sealants for lasting results. Choose companies that offer free inspections to accurately assess your grout’s condition.
Conclusion
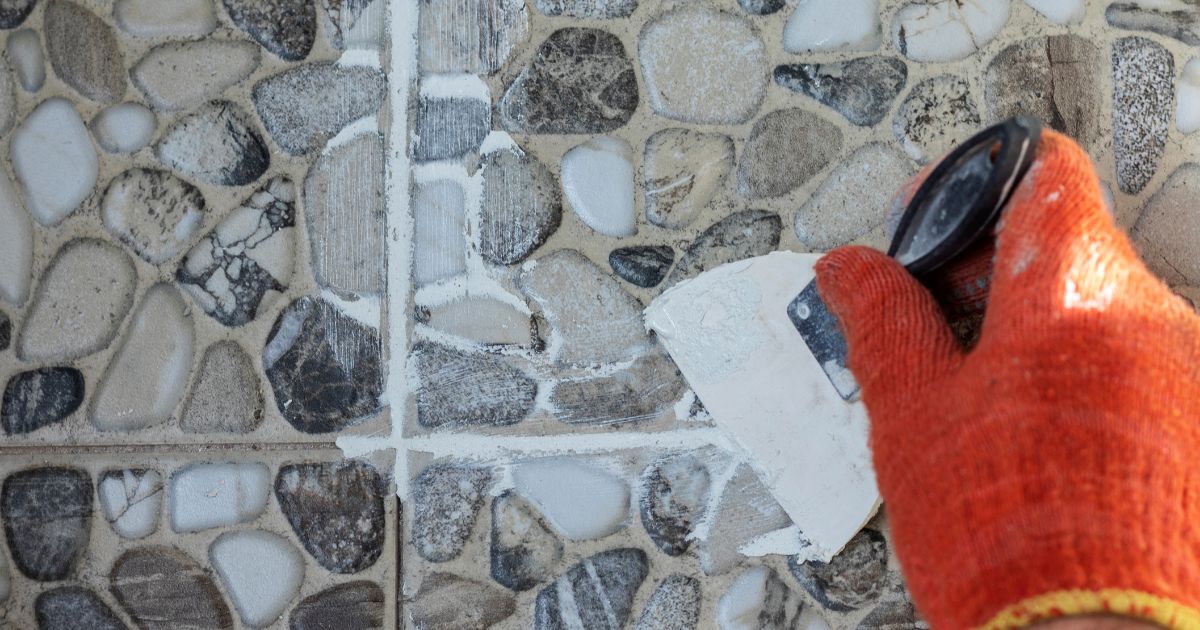
Effective methods like vinegar mixtures and scrubbing can remove dirt and discoloration from grout. Regular maintenance keeps grout sealed and protected, making it last longer. This also improves air quality and makes your space more welcoming.
By following steps from pre-treatment to sealing, you can balance effort and results. Spot-cleaning and using sealants make upkeep easier, reducing the need for deep cleans. These practices help keep your floors looking good and your home clean.
By focusing on these strategies, homeowners can make their tile floors a lasting part of their homes. They achieve both beauty and durability, ensuring their floors remain a valuable feature.
FAQ
What is the best method to clean grout in tile floors?
Cleaning grout depends on the stain type. For everyday cleaning, vinegar and baking soda work well. For tough stains, hydrogen peroxide or commercial cleaners are good. Always test a small area first.
How often should grout cleaning be done?
Clean grout monthly, especially in busy areas like kitchens and bathrooms. For a deep clean, do it every six months to a year. This depends on how dirty it gets and how much you use the space.
Can I use bleach to clean grout?
Bleach is okay for white grout to fight mold and mildew. But, it’s bad for colored grout as it can change color. Always dilute bleach and work in a well-ventilated area.
What tools do I need to effectively clean grout?
You’ll need a grout brush or toothbrush, microfiber cloths, and gloves. For tough stains, electric grout tools or a steam cleaner can help.
Is it necessary to seal grout after cleaning?
Yes, sealing grout after cleaning is key. It protects against stains and makes the grout last longer. Seal it every 1-2 years, especially in wet areas.
What are some natural alternatives for commercial grout cleaners?
Try baking soda and water, vinegar, or hydrogen peroxide and baking soda. These natural options are good for light stains and are better for the environment.
How can I prevent grout from getting dirty?
To keep grout clean, sweep and mop often, seal it after cleaning, and clean spills right away. Area rugs in busy spots can also help keep it clean.
When should I consider hiring a professional service for grout cleaning?
Call a pro for tough stains, mold, or if you need to replace the grout. They have the right tools and solutions for a deep clean.
What types of stains are the hardest to remove from grout?
Mold, mildew, rust, and dark stains from food or drinks are hard to get rid of. Each stain might need a special cleaning solution and method.
Are there any precautions to take when cleaning grout?
Yes, wear gloves to avoid skin irritation, work in a well-ventilated area with strong cleaners, and test solutions in a hidden spot first.